Identify your iPad model
Find out which iPad model you have.
To see if your Mac or PC is compatible with your iPad, check the system requirements for your model.
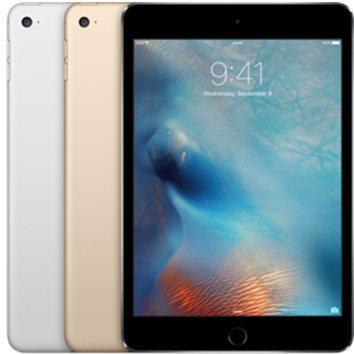
iPad mini 4
Year: Late 2015
Model: A1538*
Capacity: 16, 64, 128 GB
iPad mini 4 Wi-Fi + Cellular
Year: Late 2015
Model: A1550*
Capacity: 16, 64, 128 GB
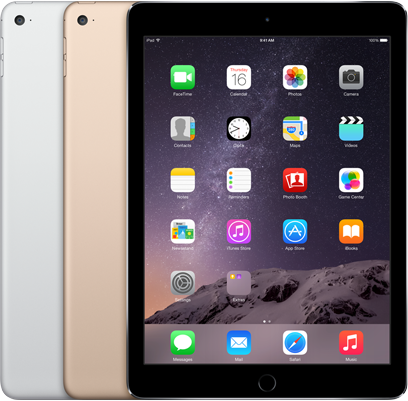
iPad Air 2
Year: Late 2014
Model: A1566*
Capacity: 16, 64, 128 GB
iPad Air 2 Wi-Fi + Cellular
Year: Late 2014
Model: A1567*
Capacity: 16, 64, 128 GB

iPad mini 3
Year: Late 2014
Model: A1599*
Capacity: 16, 64, 128 GB
iPad mini 3 Wi-Fi + Cellular
Year: Late 2014
Model: A1600*
Capacity: 16, 64, 128 GB
iPad Air
Year: Late 2013
Model: A1474*
Capacity: 16, 32, 64, 128 GB
iPad Air Wi-Fi + Cellular
Year: Late 2013
Model: A1475*
Capacity: 16, 32, 64, 128 GB
iPad Air Wi-Fi + Cellular (TD-LTE)
Year: Early 2014
Model: A1476*
Capacity: 16, 32, 64, 128 GB
iPad mini 2
Year: Late 2013
Model: A1489*
Capacity: 16, 32, 64, 128 GB
iPad mini 2 Wi-Fi + Cellular
Year: Late 2013
Model: A1490*
Capacity: 16, 32, 64, 128 GB
iPad mini 2 Wi-Fi + Cellular (TD-LTE)
Year: Early 2014
Model: A1491*
Capacity: 16, 32, 64, 128 GB

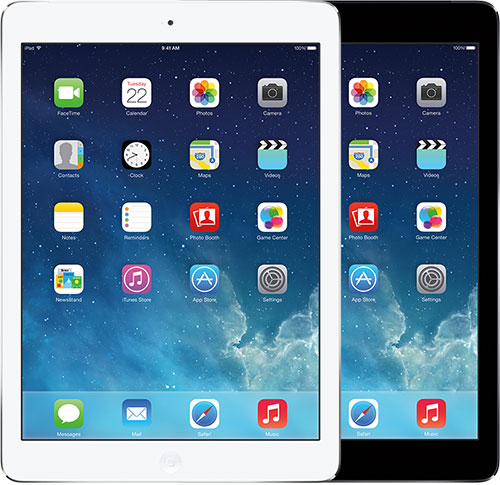
iPad (4th generation)
Year: Late 2012
Model: A1458*
Capacity: 16, 32, 64, 128 GB
iPad (4th generation) Wi-Fi + Cellular
Year: Late 2012
Model: A1459*
Capacity: 16, 32, 64, 128 GB
iPad (4th generation) Wi-Fi + Cellular (MM)
Year: Late 2012
Model: A1460*
Capacity: 16, 32, 64, 128 GB
iPad mini
Year: Late 2012
Model: A1432*
Capacity: 16, 32, 64 GB
iPad mini Wi-Fi + Cellular
Year: Late 2012
Model: A1454*
Capacity: 16, 32, 64 GB
iPad mini Wi-Fi + Cellular (MM)
Year: Late 2012
Model: A1455*
Capacity: 16, 32, 64 GB
iPad (3rd generation)
Year: Early 2012
Model: A1416*
Capacity: 16, 32, 64 GB
iPad (3rd generation) Wi-Fi + Cellular
Year: Early 2012
Model: A1430*
Capacity: 16, 32, 64 GB
iPad (3rd generation) Wi-Fi + Cellular (VZ)
Year: Early 2012
Model: A1403*
Capacity: 16, 32, 64 GB
iPad 2
Year: 2011
Model: A1395*
Capacity: 16, 32, 64 GB
iPad 2 Wi-Fi + 3G (GSM model)
Year: 2011
Model: A1396*
Capacity: 16, 32, 64 GB
iPad 2 Wi-Fi + 3G (CDMA model)
Year: 2011
Model: A1397*
Capacity: 16, 32, 64 GB
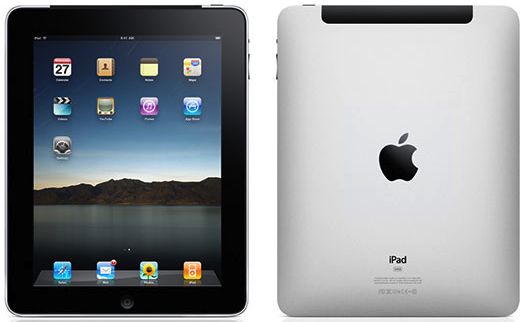
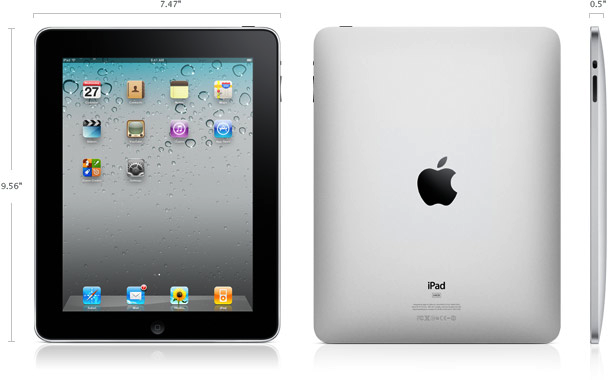
iPad
Year: 2010
Model: A1219*
Capacity: 16, 32, 64 GB
iPad (Wi-Fi + 3G)
Year: 2010
Model: A1337*
Capacity: 16, 32, 64 GB
* You can find the model number on the iPad's back case.

Identifying features
See below for product specifications.
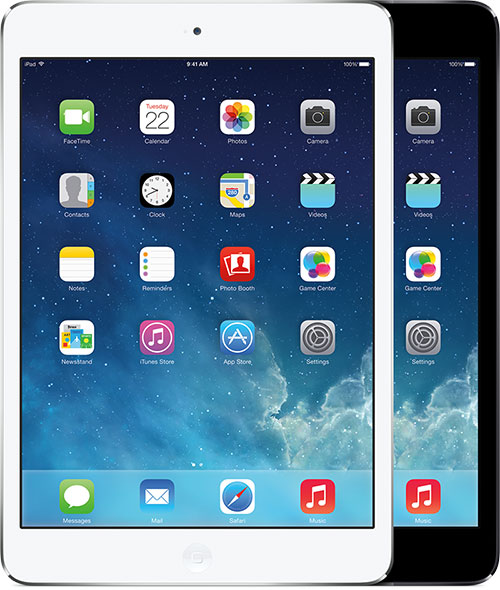
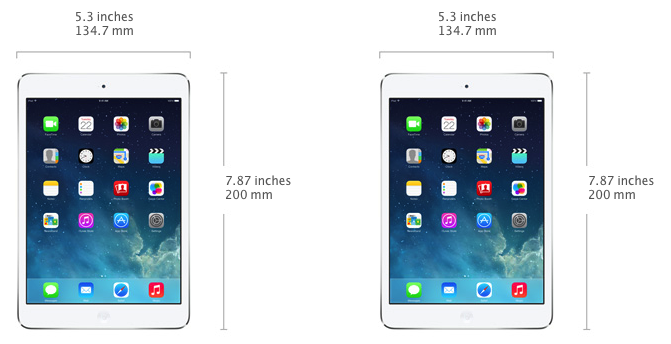
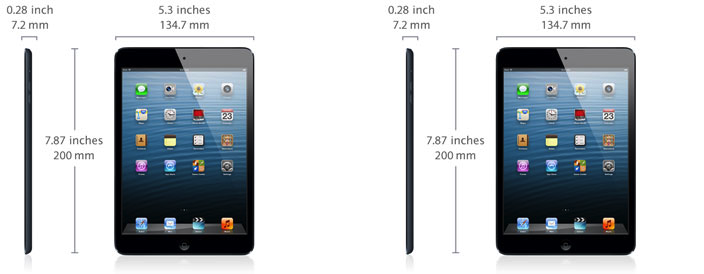
iPad mini 4
- The model number on the back cover is:
- A1538 on the iPad mini 4
- A1550 on the iPad mini 4 Wi-Fi + Cellular
- White or black front bezel
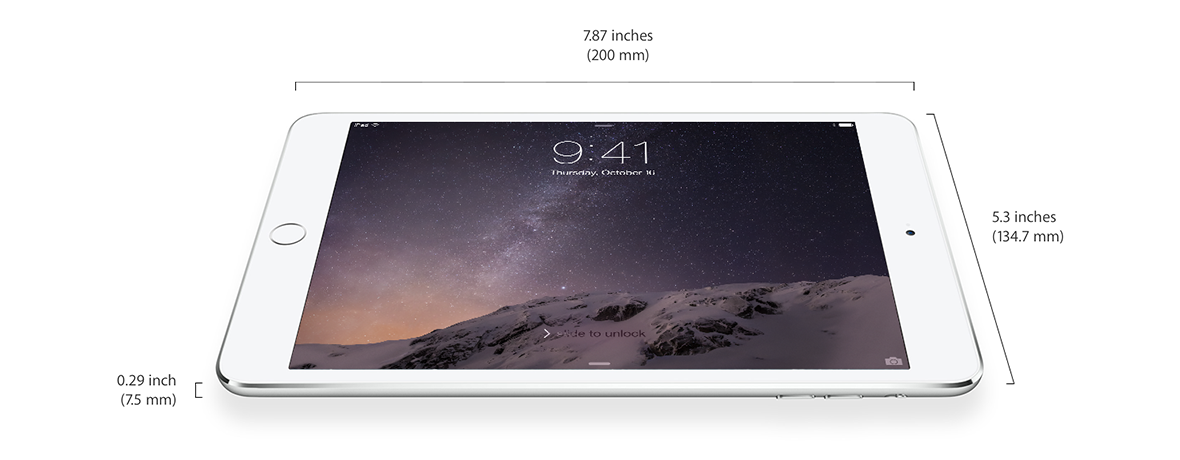
- 7.9-inch Retina display
- Silver, space gray, or gold aluminum housing
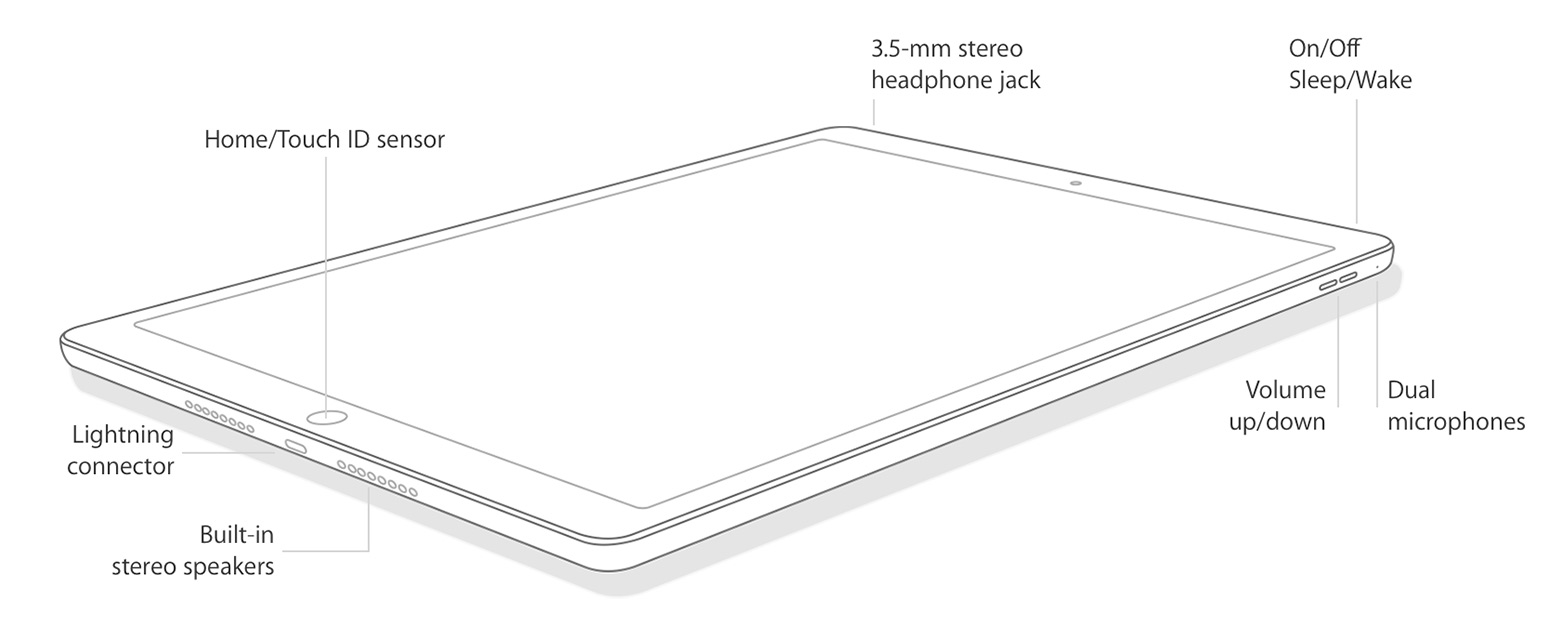
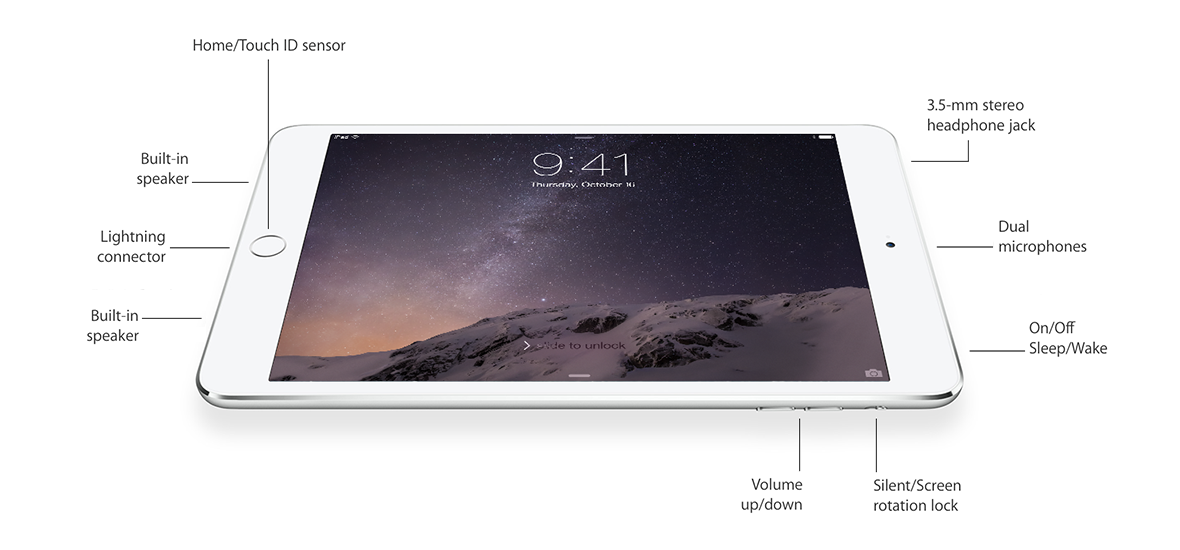
- Lightning connector
- The nano-SIM tray is on the right side on iPad mini 4 Wi-Fi + Cellular
- FaceTime HD and iSight cameras
- Touch ID

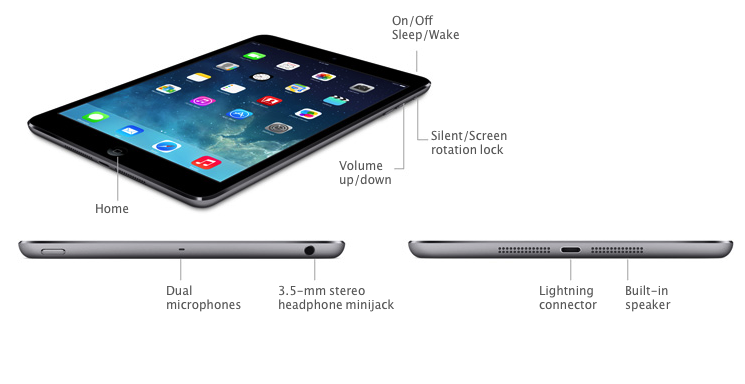
iPad mini 4 buttons and connectors
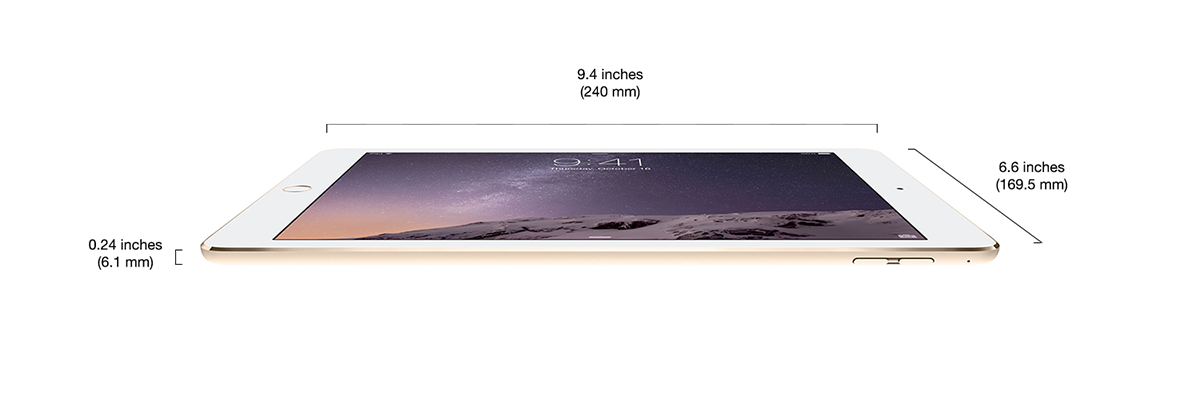
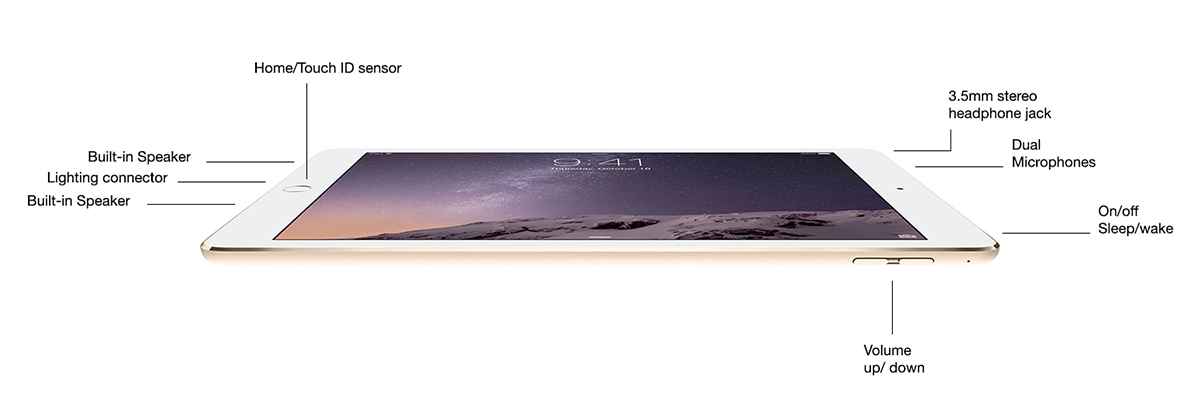
iPad Air 2
- The model number on the back cover is:
- A1566 on the iPad Air 2
- A1567 on the iPad Air 2 Wi-Fi + Cellular
- White or black front bezel
- 9.7-inch Retina display
- Silver, space gray, or gold aluminum housing
- Lightning connector
- The nano-SIM tray is on the right side on iPad Air 2 Wi-Fi + Cellular
- FaceTime HD and iSight cameras
- Touch ID
iPad Air 2 buttons and connectors
iPad mini 3
- The model number on the back cover is:
- A1599 on the iPad mini 3
- A1600 on the iPad mini 3 Wi-Fi + Cellular
- White or black front bezel
- 7.9-inch Retina display
- Silver, space gray, or gold aluminum housing
- Lightning connector
- The nano-SIM tray is on the left side on iPad mini 3 Wi-Fi + Cellular
- FaceTime HD and iSight cameras
- Touch ID
iPad mini 3 buttons and connectors
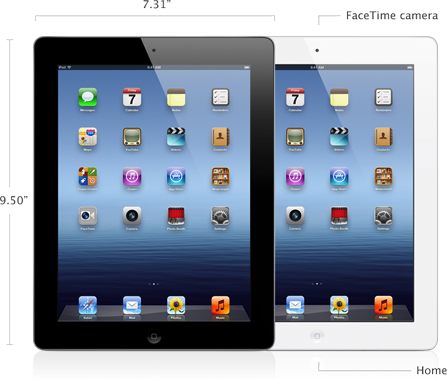
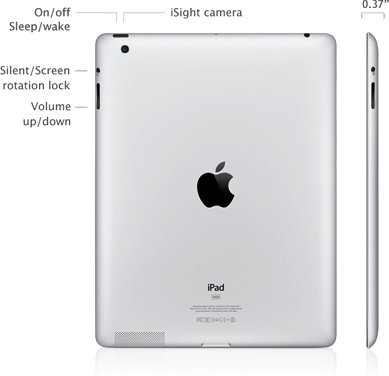
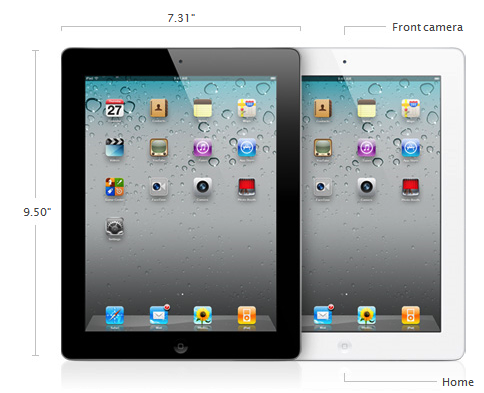
iPad Air
- The model number on the back cover is:
- A1474 on the iPad Air Wi-Fi
- A1475 on the iPad Air Wi-Fi + Cellular
- A1476 on the iPad Air Wi-Fi + Cellular (TD-LTE)
- White or black front bezel
- 9.7-inch Retina display
- Silver or space gray aluminum housing
- Lightning connector
- The nano-SIM tray is on the right side on iPad Air Wi-Fi + Cellular
- FaceTime HD and iSight cameras
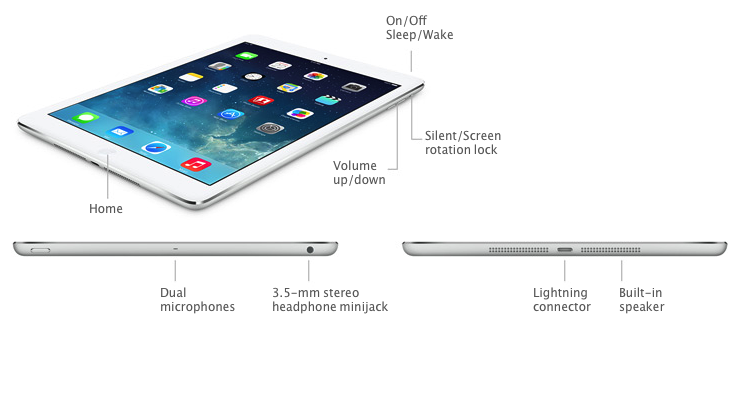
iPad Air buttons and connectors
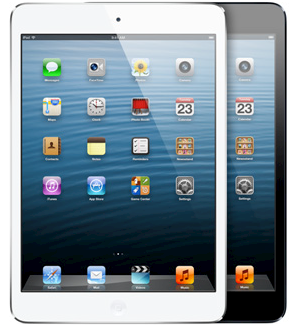
iPad mini 2
- The model number on the back cover is:
- A1489 on the iPad mini 2 with Retina display Wi-Fi
- A1490 on the iPad mini 2 with Retina display Wi-Fi + Cellular
- A1491 on the iPad mini 2 with Retina display Wi-Fi + Cellular (TD-LTE)
- White or black front bezel
- 7.9-inch Retina display
- Silver or space gray aluminum housing
- Lightning connector
- The nano-SIM tray is on the left side on iPad mini 2 with Retina display Wi-Fi + Cellular
- FaceTime HD and iSight cameras
iPad mini 2 buttons and connectors
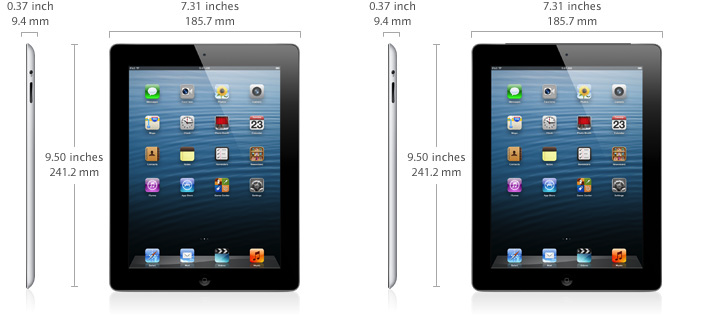
iPad (4th generation)
- The model number on the back cover is:
- A1458 on the iPad (4th generation) Wi-Fi
- A1459 on the iPad (4th generation) Wi-Fi + Cellular
- A1460 on the iPad (4th generation) Wi-Fi + Cellular (MM)
- White or black front bezel
- 9.7-inch Retina display
- Lightning connector
- The micro-SIM tray is on the right side on iPad (4th generation) Wi-Fi + Cellular
- FaceTime HD and iSight cameras
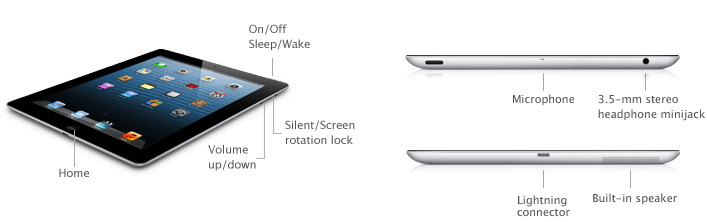
iPad (4th generation) buttons and connectors
iPad mini
- The model number on the back cover is:
- A1432 on the iPad mini Wi-Fi
- A1454 on the iPad mini Wi-Fi + Cellular
- A1455 on the iPad mini Wi-Fi + Cellular (MM)
- White or black front bezel
- Silver or slate aluminum housing
- Lightning connector
- The nano-SIM tray is on the left side on iPad mini Wi-Fi + Cellular
- FaceTime HD and iSight cameras
iPad mini buttons and connectors

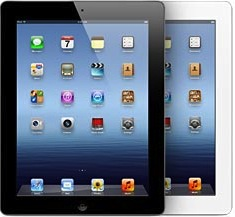
iPad (3rd generation)
- The model number on the back cover is:
- A1416 on the iPad (3rd generation) Wi-Fi
- A1430 on the iPad (3rd generation) Wi-Fi + Cellular
- A1403 on the iPad (3rd generation) Wi-Fi + Cellular (VZ)
- White or black front bezel
- 30-pin connector
- The micro-SIM tray is on the right side on iPad (3rd generation) Wi-Fi + Cellular
- FaceTime and iSight cameras
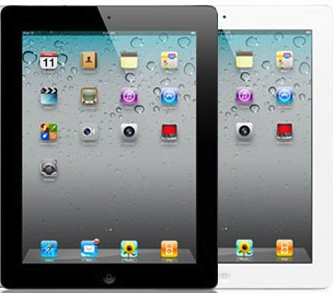
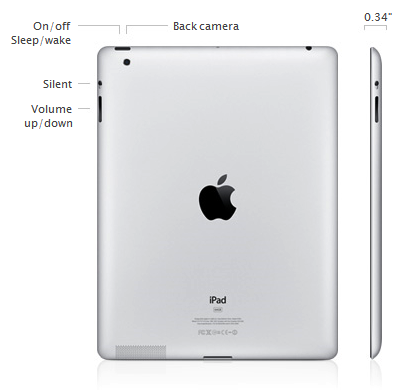
iPad 2
- The model number on the back cover is:
- A1395 on the iPad 2 (Wi-Fi)
- A1396 on the iPad 2 (GSM model)
- A1397 on the iPad 2 (CDMA model)
- White or black front bezel
- 30-pin connector
- The micro-SIM tray is on the right side on iPad (GSM model only)
- FaceTime and rear cameras
iPad
- The model number on the back cover is:
- A1219 on the iPad (Wi-Fi)
- A1337 on the iPad (Wi-Fi + 3G)
- Black front bezel
- 30-pin connector
- Standard SIM tray on the iPad (Wi-Fi + 3G)